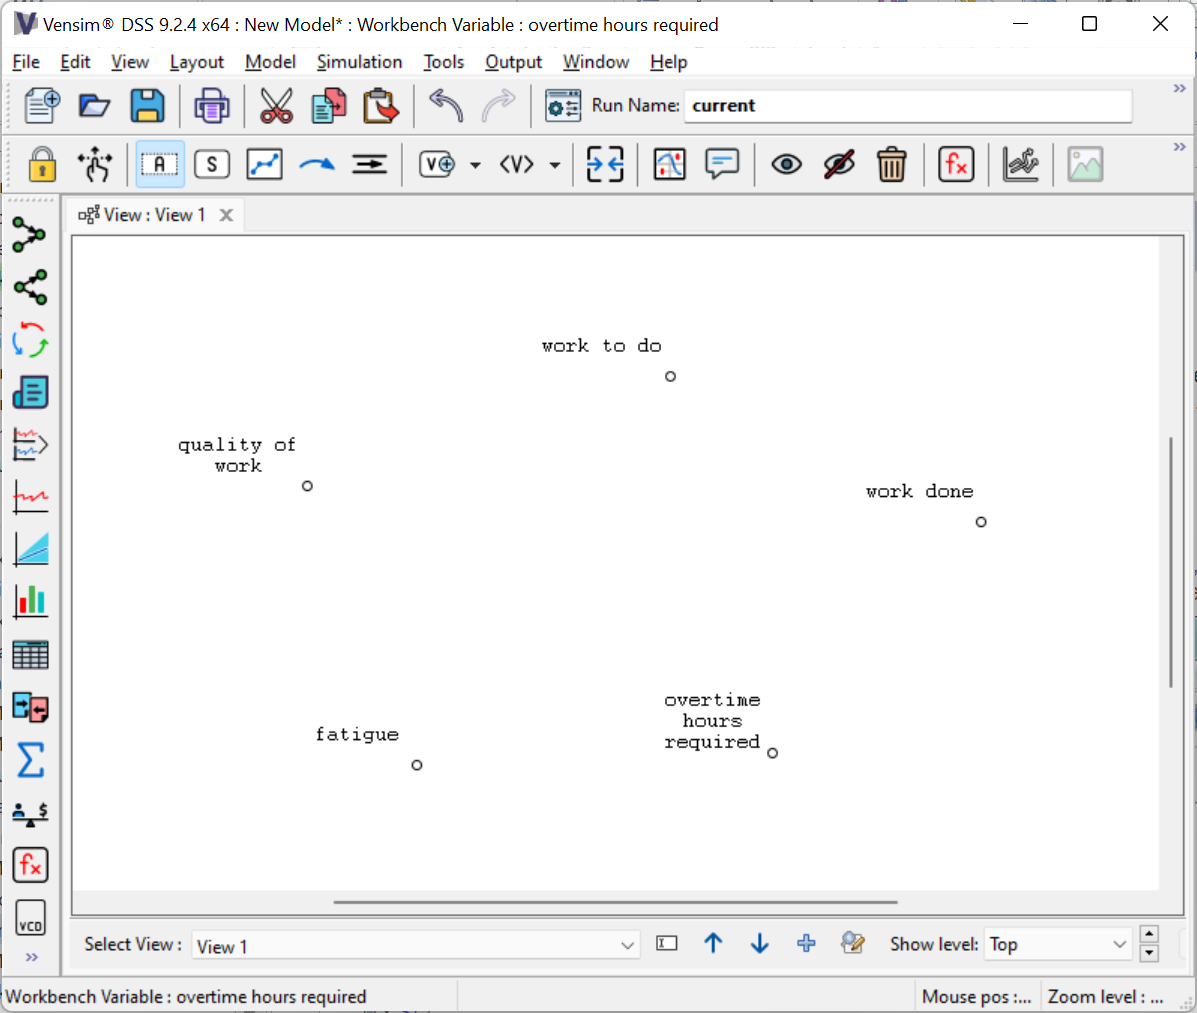
This model describes the competing feedback loops in a project (think of it as a construction project though the concepts are generic to all projects). The causal loops show the relationship between the amount of Work To Do, overtime hours required, and the effect of overtime on both the amount of work done and also fatigue. The first cut at this model assumes a constant size of workforce.
| Ø | Start Vensim |
Vensim will open with the last model you worked on active.
| Ø | Select the menu item File>New Model or click the New Model button on the Toolbar. |
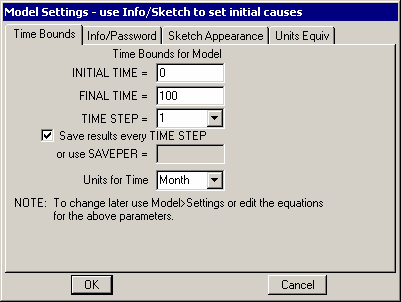
The Model Settings dialog box opens:

| Ø | Click OK to accept the default values |
A causal loop diagram does not use the Time Bounds, but a simulation model needs Time Bounds. All Vensim models (including diagrams) have Time Bounds even though they may not be used.
| Ø | Click the Save button on the Toolbar. Select the directory UserGuide\chap04 then type in the name project and click the Save button in the dialog box. |
Adding Variables
| Ø | Click with the mouse button on the Variable tool |
| Ø | Click in the middle top of the sketch and type Work To Do in the editing box, then press Enter. |
| Ø | Click again on the sketch and continue filling out the diagram with the variables shown below. |

Moving Sketch Objects
| Ø | Select the Move/Size tool by clicking on it (you can also press the keyboard number 2). Move the mouse directly over a variable. Press down and hold the mouse button then drag the mouse. A box will move to show you the new position for the variable. Release the mouse button and the variable will move to the new position. |
You can also move and reposition objects using other sketch tools.
| Ø | Select the Variable tool again (click on it, or press the keyboard number 3). Move the cursor directly over a variable. Press down and hold the mouse button then drag the variable to a new position. |
| Ø | Return the variables to the positions shown in the diagram above. |
Now that we have laid out some important variables we will show their causal influences.
Adding Arrows
| Ø | Select the Arrow tool |
| Ø | Click once on overtime hours required then move the cursor to work done and click again. A straight arrow will join the two variables. |
Handles
Handles are the little circles that appear in the middle of arrows in Vensim sketches, and at the corner of boxes and clear boxes, in the middle of rates and elsewhere. These handles allow you to resize or move things around. These handles appear when first entering variables, when creating arrows, and any time the Move/Size tool is selected. Handles can be manipulated by the Move/Size tool or any other sketch tool except Lock.
| Ø | Select the Move/Size tool to turn handles on. |
Curved Arrows
One Way:
| Ø | Position the pointer on top of the handle in the middle of the straight arrow from overtime hours required to work done. Press and hold the mouse button down, then drag the mouse (and arrow) a down to make a curved arrow. |
Another Way:
| Ø | Select the Arrow tool. Click once on work done, then move the cursor to a blank portion of sketch just above and right of Work To Do and click once, then move the cursor onto Work To Do and click once again. A curved arrow will join the two variables. You can move this arrow by dragging the handle (with the Arrow tool or the Move/Size tool). |
| Ø | Continue joining variables with curved arrows, according to the diagram below, by either making straight arrows and moving the handle to curve them, or by making a single intermediate click on the sketch. |

Editing Variables
| Ø | To edit a variable name, click on it with the Variable tool to open the editing box, then type in a new name. |
Deleting Variables
If you want to delete a variable from the model you can use either Edit>Cut (Ctrl + X) or press the Del key on the keyboard (both of which open a prompt dialog) or use the Delete tool ![]() (which deletes from the model with no prompt).
(which deletes from the model with no prompt).
Note that if you press the Del key or use Edit>Cut you will, except in PLE and PLE Plus, have the option to Remove from this view but do not change model structure. If you do this the variable may not appear in any sketch but will still be part of the model. Use caution in selecting this option.
| Ø | Select the Variable tool and click on the sketch, then type in the name temporary and press Enter. |
| Ø | Select the Delete tool and click on the variable temporary. |
Undo and Redo
If you make a mistake while creating a model, you can use the menu item Edit>Undo and Edit>Redo commands to step backward or forward. Ctrl+Z is the same as Edit>Undo and Ctrl+Y is the same as Edit>Redo. The undo/redo history has multiple levels for most editing changes.
Saving Your Model
| Ø | Click the Save button or select the menu item File>Save or press Ctrl + S. Save the model in the directory UserGuide\chap04 with a name such as project. |
Models can be saved in text format, the default, with the file extension .mdl. Models can also be saved in binary format using the file extension .vmf. Binary format models can be used with the Vensim Model Reader. They also open more quickly than text format models though this is rarely an issue except with very large models. None of the models in this guide are big enough for this speed difference to be noticeable.