There are two ways to prepare a model for use by others, including those who only have access to the Vensim Model Reader. The first is to use the File>Publish command in order to create a package of the model and supporting files. The second is to simply save the model to a binary format. Independent of which of these you do there are some things that are helpful for making it easier for other people to work with your model.
First, it is a good idea to include your name and the contact info you want to give people. You can embed this information as a comment on the first sketch view. Alternative you can use the model notes (use the command Model>Settings then go to the Info/Password tab). In this dialog fill in the notes and check the Display model notes when model is opened Checkbox. This information will then be displayed in a separate dialog when users open the model.
It is helpful to have units of measure and comments for each variable. These are displayed when user’s hover over the model variables and can make it much easier to understand a model.
If your model has more than one sketch view than it is helpful to add a navigation page as the first page. The navigation page can contain your contact info and a navigation button for each view in the model. While page up and page down will work in the Vensim Model Reader, the navigation buttons make it much easier. If you do this you should probably put a navigation button on each view that returns to the first view.
It can also be very useful to set up a simple control panel that contains the important constants that you want users to change and some important results – possibly as imbedded custom graphs. The example in Chapter 12 does this.
Custom Graphs and Tables
This does not apply to Vensim PLE or PLE Plus.
If you have created custom graphs or tables in a separate file you will need to bring these into the model for others to use them. To see if this is the case go to the Graphs tab of the control panel:
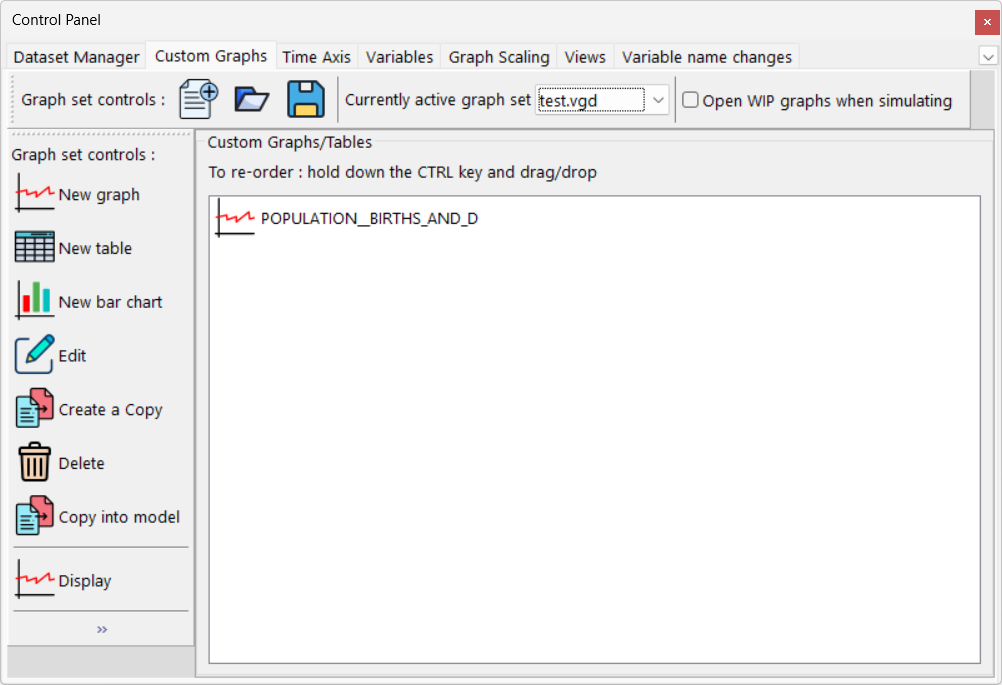
If the name displayed under Currently active graph set is not *Default (or if the Copy into model) button is active you will need to bring the custom graphs and tables you are working with into the model. Click on the Copy into model button to do this.